The Bulletproof Client Handoff Framework
Protect your builds from human error. Here is how to keep clients from estroying your design.

Turn your finished website into a social-ready preview. Learn how to choose a recording, frame your design, and export a video without manual video editing.
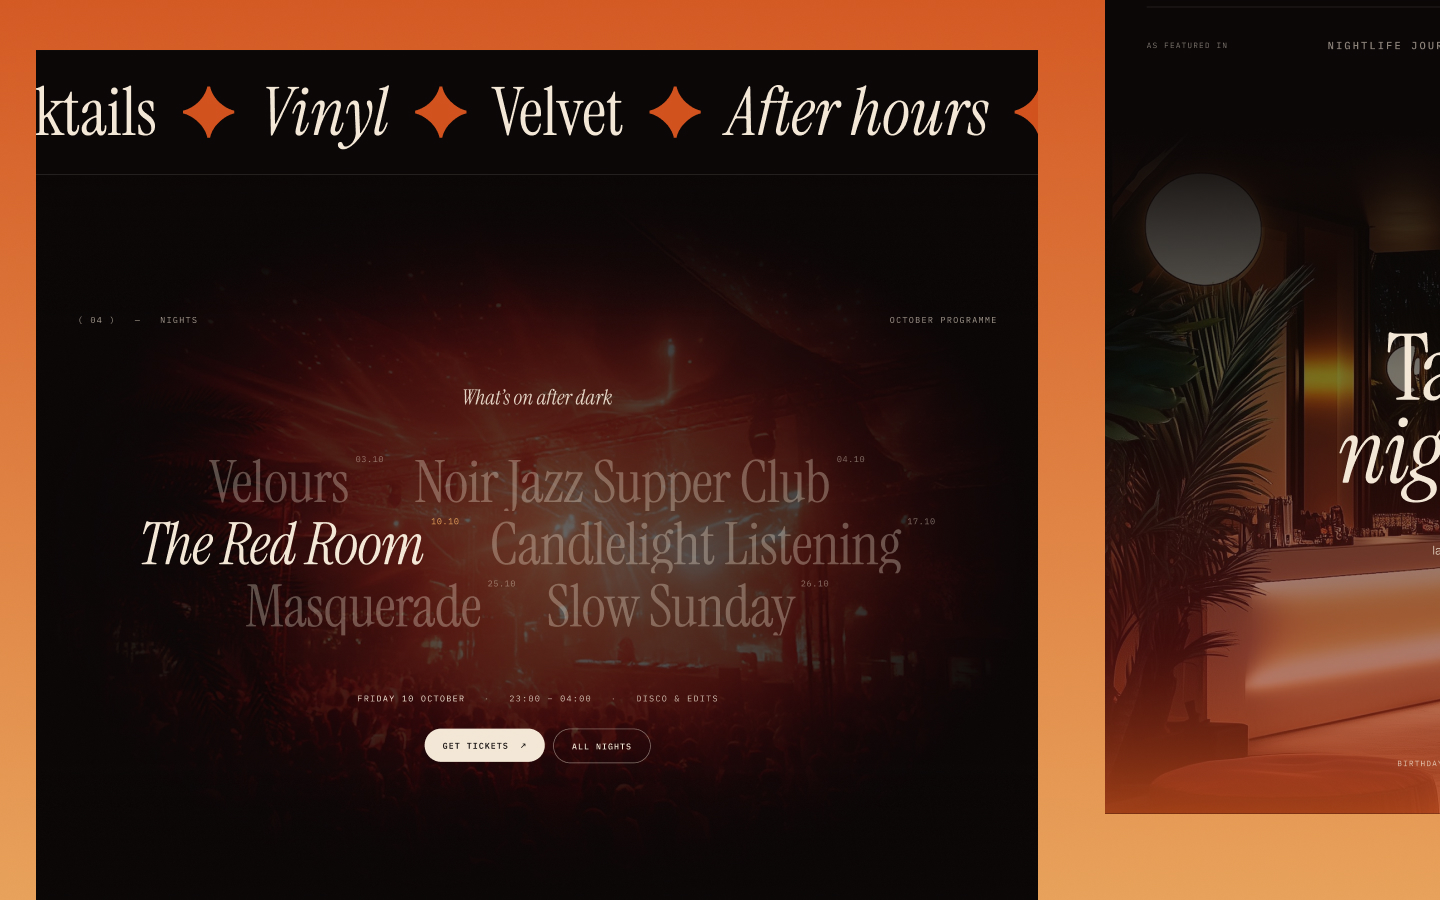
To showcase a website on social media, choose the part of the design you want people to notice, capture it, place it in a suitable mockup, and export it in a format that fits the post. PreviewKit handles the presentation workflow: paste a website URL or upload an MP4, choose a mockup and background, then export an MP4 video or PNG image.
The useful starting point is a decision: what should someone understand about this website after seeing your post? That answer determines what to record and how to present it.
A homepage reveal, a responsive layout, and a navigation interaction each make a different post. Trying to explain all three in one recording can make the important detail difficult to follow.
For a homepage reveal, start with the hero and continue into one supporting section. For an interaction, record the action and its result. For a mobile layout, capture the actual mobile version so viewers can see how the design adapts.
For example, an architecture website might deserve a preview focused on its large photography and project grid. A software website might be better represented by its opening headline and product section. These are suggested approaches, not measured performance results.
Open PreviewKit and paste the website URL to automatically capture a recording. If you already have a recording, upload the MP4 instead.
A URL capture is a useful starting point for a website overview. When you need a specific click sequence, hover state, or interaction, make that recording yourself and upload it. Do not assume an automatic capture will perform the exact interaction you have in mind.
Check that the design is ready before recording. A cookie banner covering the hero or an unloaded image can become the most noticeable part of the preview. See our website screen recording checklist for a more detailed review.
PreviewKit includes 34 device and website mockups. Choose a scene based on how much of the website remains visible at the final viewing size.
A device scene can give a homepage reveal more visual context. A simpler website frame can give small interface details more room. Neither choice is automatically better: the design needs to remain the subject.
The mockups are designed images with the recording positioned inside the screen area. They can look three-dimensional, but they are not editable 3D models.
Choose a background that separates the website from its surroundings. If the website is visually busy, start with a quieter background. If a dark website disappears into a dark scene, try a lighter option.
Select the relevant social media size preset and judge the whole composition again. A desktop website inside a tall canvas can become too small if the scene contains a lot of surrounding space. For that situation, read how to prepare website previews for Reels and TikTok.
Look at the result at roughly the size someone will see it on a phone. Can you identify the website's main visual idea without zooming in? If not, choose a mockup that gives the screen more space.
Export an MP4 when movement helps explain the design. Export a PNG when a single composition communicates it clearly. Watch or inspect the exported file before posting, especially the opening frame and the readability of the website.
Add a caption explaining your contribution. For example: “New architecture website. I focused on making the project photography the first thing you notice.” That gives the viewer a reason to look at the design more closely.
Export before refreshing or leaving the session. PreviewKit works locally and does not currently save projects between sessions or store them in the cloud. Refreshing the page loses the current project. Keep your source recording and exported files separately.
For a website recording inside a visual mockup, this workflow can cover the presentation. If you want a story with multiple cuts, a voiceover, and custom motion graphics, plan for a separate editing tool. PreviewKit is built around preparing website work for sharing.
Ready to present a finished project? Open PreviewKit and start with your website URL or MP4.
Powerful, self-serve product and growth analytics to help you convert, engage.

Let's bring your vision to life with standout design and expert development. Reach out to start building something exceptional together!